My best friend, Sonia, just got married! Well, it was almost a month ago but time sure has flown. I threw a bridal shower for her a week before her wedding and the theme was “Sunday, her Prince will come” (based on how her husband proposed to her) so naturally everything had to be Pretty Pretty Princess Pink, from the napkins to the cupcakes!
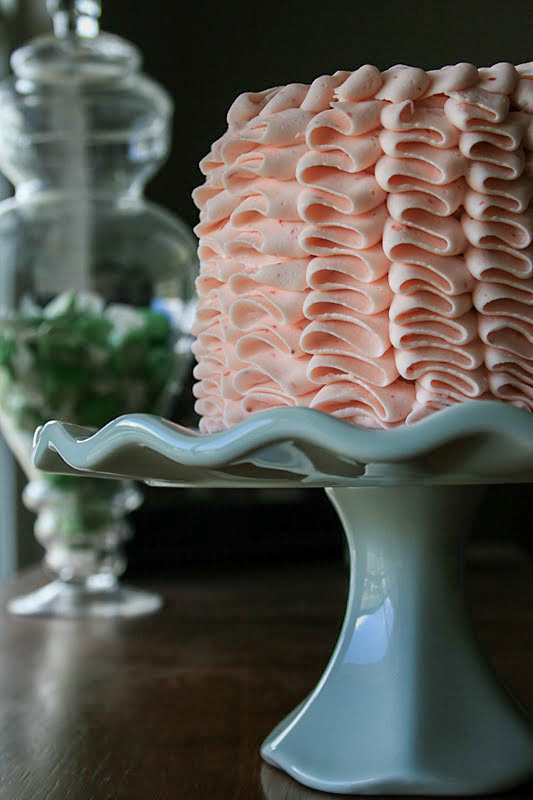
I just had to do a pink Ruffle Cake because they are so darn cute and perfect for any girly party. This was so much easier than I expected it to be! I will definitely be doing a lot more of these cakes and actually will be doing one for my 2 year old niece’s birthday party this weekend!
For this mini cake, I used a 4 inch pan and it turned out absolutely adorable. Of course you can make this any size you want. The flavors were yellow cake and strawberry frosting. I should have shown a picture of the inside. There were 4 layers with strawberry frosting in between.
I also did Rose Cupcakes out of the same cake and frosting just to make things extra dainty. Again, super easy and it produced a delicious cupcake to frosting ratio.
| Fudge Brownies |
Back to our Fairytale….Sonia’s husband proposed to her at Disneyland using this engraved glass slipper (see below). It says, “Myron & Sonia” “Happily Ever After” and the date of their engagement. Sonia loves Disneyland so this was perfect. Way to go Myron! I thought the glass slipper would be the perfect finishing decoration for the ruffle cake…. and Sonia did too when she saw it! Simply elegant and meaningful.
No, I did not make those pink fluffy confections on the left side of the picture below….they are pink snowballs I found at the store and had to put on the table because they were….well….pink. 🙂 But we don’t eat those… blegh. (I’m not a fan of pure marshmallow)
| Happily Ever After Dessert Table |
| Sonia cutting the cake |
We set up outside and the day was beautiful! We couldn’t ask for much more than that.
And finally, the long awaited….
- 1 cup unsalted butter
- 1 ½ cups sugar
- 8 egg yolks
- ¾ cup any milk
- 1 ½ tsp pure vanilla extract
- 8 oz (2 cups) cake flour
- 1 tsp baking powder
- ½ teaspoon fine sea salt
- Preheat oven to 350 degrees F. Grease two 4 inch round cake pans and place cupcake liners in 1 cupcake tin. Mix together the flour, baking powder and salt. Set aside.
- Cream together the butter and sugar until light and fluffy. Beat in the egg yolks one at a time. Stir in vanilla. Beat in the flour mixture (3 portions) alternating with the milk (2 portions). Start and end with the dry ingredients. Mix only until incorporated. The batter will be thick.
- Pour batter into cake pans half full and divide into cupcake liners filling half full as well.
- Bake all pans in the oven for 25-30 minutes (cupcakes will be done in ~12 minutes) or until the tops springs back when lightly touched or the cake passes the toothpick test. Cool completely in the pans.
- Once cool, turn cakes out onto flat surface. Cut the round top off of the cakes using a long serrated knife and cutting horizontally. Eat the scraps for quality assurance. 🙂 Cut the cakes in half horizontally to create a total of 4 layers. To make the frosting process easier you can refrigerate the cakes now but it is not absolutely necessary.
- Place the first cake layer on a 6 inch round cake board and pipe or spread a thin layer of frosting on top. smooth out with an offset spatula. Place the 2nd layer and repeat until all the layers are stacked and covered in frosting. Pipe or spread frosting along the sides of the cake by holding the spatula vertically attempting not to get crumbs mixed up in the frosting (this is just for good practice really. This cake wouldn't matter if you had crumbs in the "prime coat" of frosting). Smooth all the edges out as well as the top. This is easiest done with a turntable. Make sure the top looks nice if you are not going to cover it with another layer of frosting like in my pictures above. Place the cake in the freezer or fridge until it is firm to the touch (overnight is fine). Once you reach this point you are ready to decorate the cake with ruffles as shown in the video above.
- To frost the cupcake you will want a 1M (or 2D or similar) tip in a piping bag. Beginning in the middle of the cupcake, hold the bag vertically and pipe evenly around in circles until you reach the outside of the cupcake and then release the pressure and drag the tail around so it is sort of hidden. That's it! Voila! A Rose! Crazy Easy, huh!?
- Enjoy.
- 5 oz (1 cup) fresh or frozen strawberries (thawed)
- 2 sticks (1 cup) unsalted butter, firm and slightly cold
- 1 cup butter flavored shortening
- Pinch of salt
- 875 g (7 cups) confectioners' sugar (Can use less if desiring less sweetness)
- 1 tsp pure vanilla extract
- *NOTE: Your strawberry frosting will only be as good as your strawberries. If your strawberries don't have much flavor, that is how your frosting will taste also. Make sure your strawberries are in season.*
- Puree strawberries in a food processor. In the bowl of an electric mixer fitted with the paddle attachment, beat together the butter and salt on medium speed until soft. Reduce speed and slowly add the powdered sugar; beat until well combined. Add vanilla. Add about 3-5 tablespoons strawberry puree or until desired flavor is reached making sure you don't put in too much puree that your consistency changes or your frosting breaks. Mix until well blended.
- This frosting recipe can be very sweet as well as tart from the strawberries. It is extremely flavorful and tasty! A trick to make it less sweet if desired is to use the store's cheaper brand of powdered sugar because it has less sugar and more cornstarch than C&H; sugar.
- The frosting color in the photos is naturally pink from the strawberries but you may add food coloring to achieve your desired shade of pink.